
There are desserts that taste good, and then there are desserts that make you pause mid-bite and say, “Wow.” Pavlova falls into that second category.
It’s light. It’s airy. It’s a little crisp on the outside and soft like a marshmallow inside. Topped with whipped cream and fresh fruit, it looks fancy, tastes amazing, and—believe it or not—is way easier to make than it seems.
Whether you’re planning to impress guests, treat yourself on a weekend, or just try something new in the kitchen, this guide to Pavlova will walk you through everything. No confusing jargon, no stress. Just real talk and good dessert.
The Secret Ingredients: What You’ll Need for That Pavlova Magic
Pavlova is made from a short list of everyday ingredients. The magic comes from how you use them. Here’s what you’ll be working with:
- Egg whites – This is the base of the Pavlova. Whip them up right, and you’ve got structure.
- Sugar – Adds sweetness and helps create a glossy, stiff meringue.
- Cornstarch – This is the key to that soft, marshmallowy center.
- Vinegar or lemon juice – A little bit helps hold everything together and keeps the meringue from collapsing.
- Vanilla extract – For flavor.
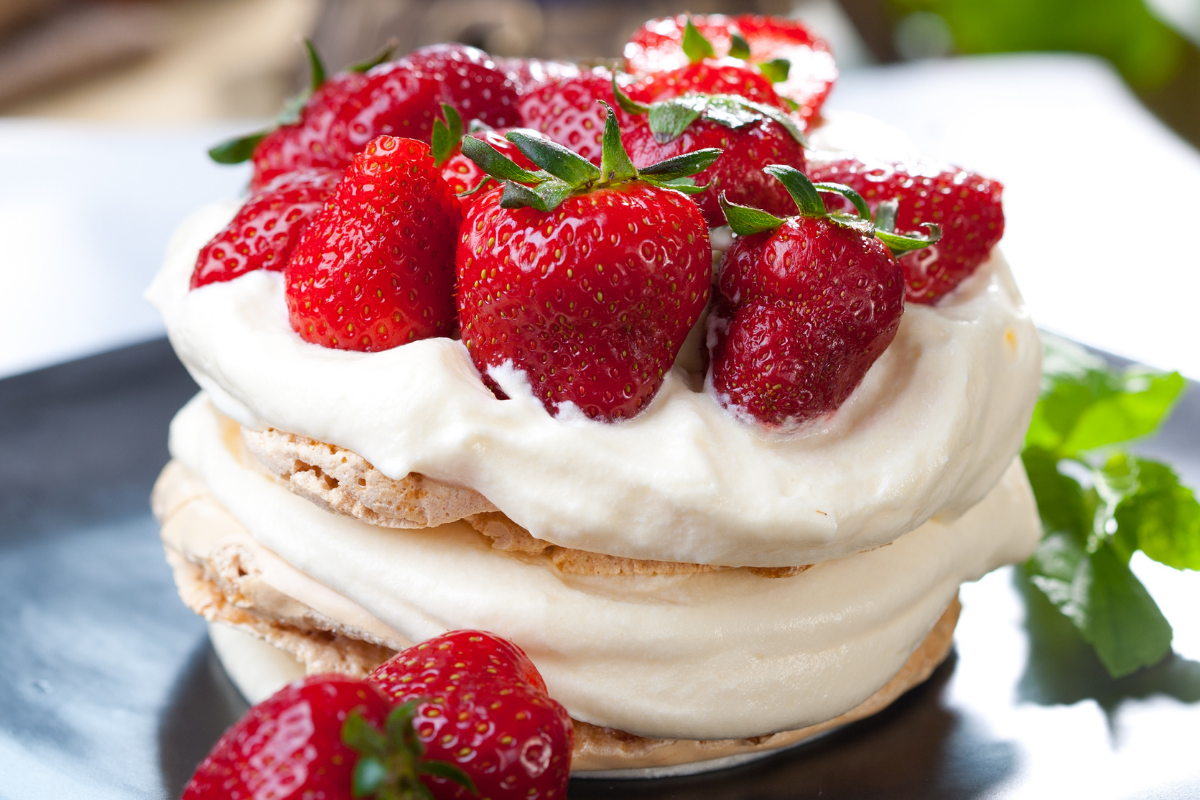
- Whipped cream and fruit – These go on top and bring it all to life. Think strawberries, kiwi, mango, blueberries, or whatever fruit you like.
That’s it. No flour. No butter. It’s naturally gluten-free and big on taste.
So, What Exactly Is Pavlova?
If you’ve never heard of it before, Pavlova is a meringue-based dessert named after a Russian ballerina, Anna Pavlova. It was created in her honor when she toured Australia and New Zealand back in the 1920s. Both countries still claim they invented it first—goes to show how good it is.
What makes Pavlova different from a regular meringue is its texture. It’s crisp on the outside, but when you cut into it, the inside is soft, gooey, and kind of marshmallow-like. Top it with whipped cream and juicy fruits, and you’ve got yourself a dessert that’s sweet, fresh, and light all at once.
How to Make Pavlova Step-by-Step (Without Losing Your Mind)
Let’s break it down in a way that actually makes sense. No tricky techniques here—just follow these simple steps.
Step 1: Get Your Egg Whites Ready
Start with room temperature egg whites. Make sure your mixing bowl is super clean—no grease or water. Even a drop of egg yolk can mess things up. Crack your eggs and separate the whites carefully.
Step 2: Start Whipping
Use a hand or stand mixer to whisk the egg whites. Once they get foamy, start adding sugar little by little. Don’t dump it all at once. Keep whisking until the mixture looks thick, shiny, and holds stiff peaks when you lift the whisk.
Step 3: Fold in the Good Stuff
Gently fold in cornstarch, vinegar or lemon juice, and vanilla. Don’t overmix. You want to keep the air in there—it’s what makes the Pavlova puff up and stay light.
Step 4: Shape It
Spoon the meringue mixture onto a baking tray lined with parchment paper. Shape it into a round disc, like a cake. Make a slight dip in the center so there’s room for your toppings later.
Step 5: Bake Low and Slow
Bake it at a low temperature for about an hour, then turn off the oven and let it cool inside. Don’t open the oven door too soon—just let it sit and cool down gradually. That helps prevent cracks.
Step 6: Add the Toppings
Once your Pavlova is completely cool, pile on the whipped cream and fresh fruit. Keep it simple or go wild—either way, it’ll taste amazing.
Common Mistakes to Watch Out For
Even though Pavlova is pretty simple, there are a few easy slip-ups that can happen. Don’t worry—we’ve got you covered.
Using a Wet or Greasy Bowl
This one’s big. Egg whites won’t whip properly if there’s any fat or moisture in your bowl. Make sure everything is dry and clean before you start.
Rushing the Sugar
If you add sugar too fast, the meringue won’t set up right. Take your time—slow and steady wins the whisking game.
Overbaking
If your Pavlova is too brown or dry, it might’ve been in the oven too long or at too high a heat. Low and slow is the way to go.
Topping Too Early
If you add the cream or fruit while it’s still warm, the Pavlova can get soggy. Let it cool all the way before dressing it up.
Want to Get Fancy? Try These Pavlova Twists
Once you’ve nailed the classic version, there’s a whole world of Pavlova fun waiting for you. Here are a few ways to mix it up:
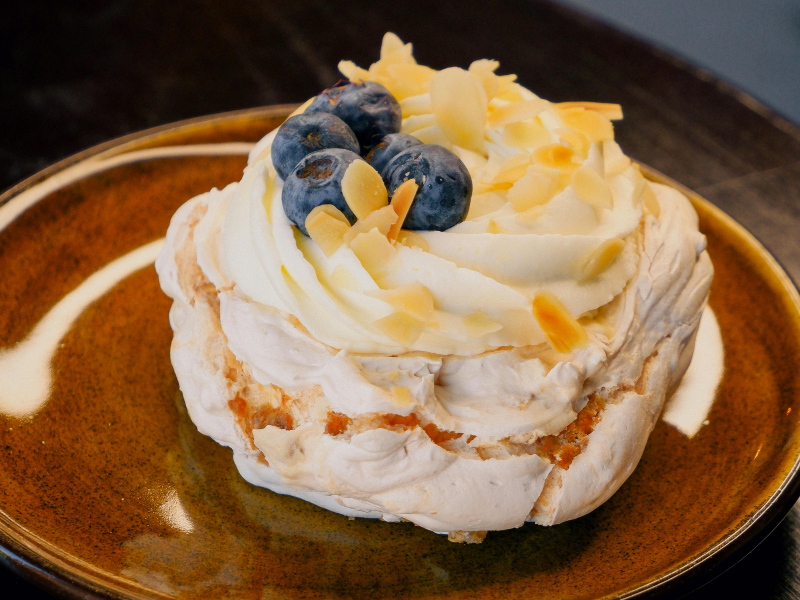
- Mini Pavlovas – Make individual-sized versions for a cute party dessert.
- Chocolate Pavlova – Add a spoonful of cocoa powder to the meringue and top with whipped cream and chocolate shavings.
- Winter Pavlova – Top with spiced poached pears or roasted apples for a cozy twist.
- Tropical Pavlova – Use passionfruit, pineapple, and coconut cream for a vacation-style treat.
The base stays the same, but the toppings are your playground.
Why You’ll Fall in Love with Pavlova
There’s something really satisfying about making a dessert that looks like you spent hours on it, but actually took very little effort. Pavlova is:
- Light but rich
- Sweet but balanced with fresh fruit
- Naturally gluten-free
- Great for using up leftover egg whites
- Easy to make ahead
It’s the kind of dessert that gets people talking at the table. And once you make it once, you’ll want to keep coming back to it—especially since it works in every season, with all kinds of fruits.
Final Thoughts: Pavlova Isn’t Just Pretty—It’s Practical Too
At first glance, Pavlova looks like one of those desserts best left to pastry chefs or food stylists. But now you know better.
It’s made from basic ingredients, the steps are simple, and it delivers a wow-factor that few other desserts can match. Whether you’re baking it for friends, family, or just yourself, it always hits the sweet spot.
Give it a go this weekend. Even if it cracks or leans a little to one side, it’ll still taste amazing. And with a little practice, you’ll be the person everyone turns to for the perfect Pavlova.